Unlocking the Monitor Control Room Safe: Your Essential RE9 Guide
As you delve deep into the terrifying remnants of Raccoon City within the ARK facility in
Resident Evil Requiem, you'll inevitably stumble upon the Monitor Control Room. Hidden within this endgame area lies a crucial locked safe, often the final obstacle for treasure hunters before the game's climax. This comprehensive guide will equip you with everything you need to know about the **Monitor Control Room Safe Code Re9**, including its location, the exact combinations for all difficulties, and the valuable rewards that await inside. Mastering this safe isn't just about collecting goodies; it's about securing vital resources that can make or break your final stand against the horrors of RE9.
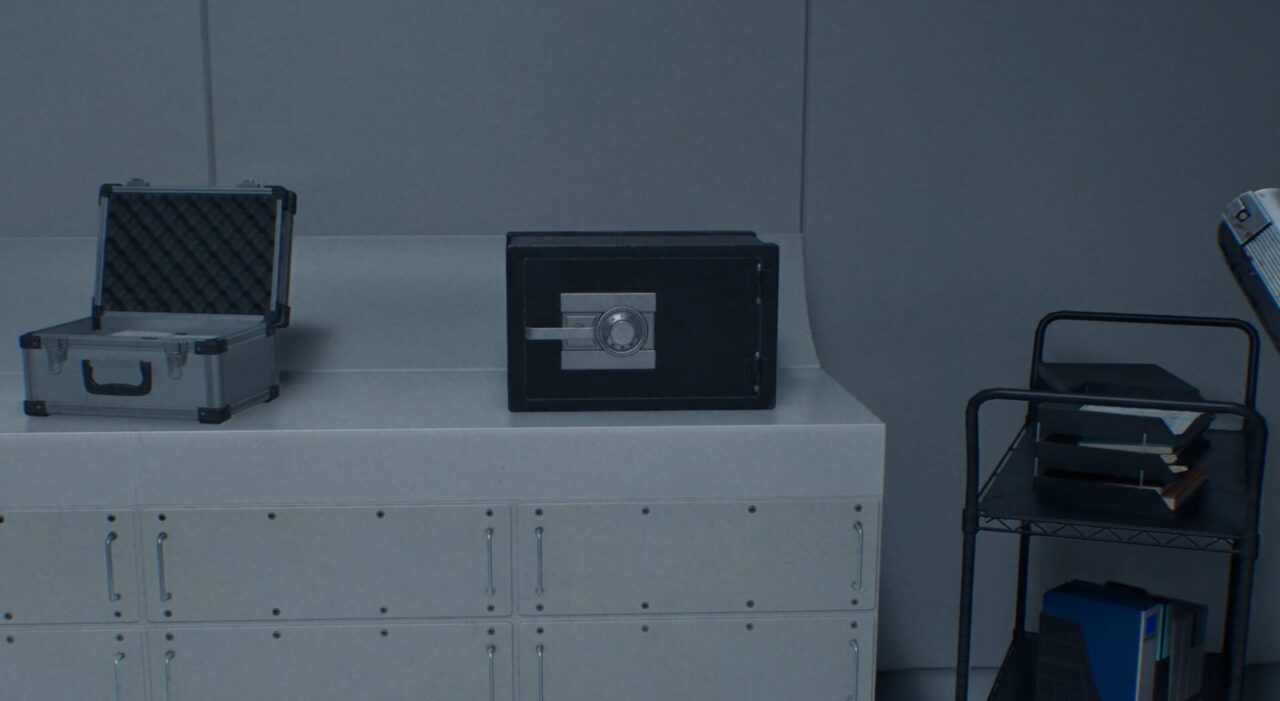
The Monitor Control Room Safe stands out not only as one of the last safes you'll encounter but also due to its difficulty-dependent codes. Unlike some earlier puzzles, the developers at Capcom want to keep you on your toes, especially if you dare to venture into the challenging Insanity mode. We'll provide both combinations, along with step-by-step instructions on how to correctly dial them in, preventing frustrating resets.
Cracking the Monitor Control Room Safe: The Codes for All Difficulties
Opening any safe in
Resident Evil Requiem requires precision and a clear understanding of the dial mechanism. The Monitor Control Room Safe is no exception. It's crucial to remember a fundamental rule: **do not attempt to pull the safe handle until all three numbers of the combination have been entered correctly.** Pulling the handle prematurely will instantly reset your progress, forcing you to start the sequence from scratch. Patience is key in these tense moments.
Casual & Normal Difficulty: The Standard Combination
For players enjoying the narrative and action on
Casual or
Normal difficulty settings, the Monitor Control Room Safe Code is consistent and relatively straightforward. This combination is designed to offer a fair challenge without being overly punishing.
The code you need is:
Left 50 - Right 60 - Left 80.
Here’s how to input it accurately:
- First Number (Left 50): Spin the safe dial clockwise until the indicator lands precisely on the number 50.
- Second Number (Right 60): Now, spin the safe dial counter-clockwise, passing 50 and eventually stopping at 60.
- Third Number (Left 80): Finally, spin the safe dial clockwise again, ensuring you stop directly on 80.
Once you've successfully entered the final number, and only then, you can confidently pull the safe handle to reveal its contents. Remember, the game expects you to complete the entire sequence before attempting to open the safe.
Insanity Difficulty: A New Challenge, A Different Code
For the brave, or perhaps the truly insane, who tackle
Resident Evil Requiem on its most brutal setting,
Insanity difficulty not only ratchets up enemy aggression and resource scarcity but also changes certain puzzle solutions. The Monitor Control Room Safe Code is one such instance, requiring a completely different set of numbers. This adds another layer of challenge and replayability for veterans.
The Insanity mode code for the Monitor Control Room Safe is:
Right 20 - Left 0 - Right 70.
Follow these steps for the Insanity combination:
- First Number (Right 20): Begin by spinning the safe dial counter-clockwise until you reach 20.
- Second Number (Left 0): Next, spin the safe dial clockwise until the indicator aligns with 0.
- Third Number (Right 70): Conclude by spinning the dial counter-clockwise again, stopping at 70.
Once all three numbers are entered in the correct sequence and direction, pull the handle. On Insanity, every resource is precious, making the successful opening of this safe an even greater triumph and a critical boost to your survival chances.
Locating the Monitor Control Room Safe in the ARK Facility
The Monitor Control Room Safe isn't just found anywhere; it's situated deep within the **ARK facility**, a sprawling, late-game complex that forms a significant part of the game's climax. This means you'll typically encounter this safe towards the latter stages of your playthrough, making its contents all the more relevant for the impending challenges.
You'll find the Monitor Control Room itself on the **B2 Level of the ARK facility**. Specifically, it’s conveniently connected to the main **Lobby** area. To give you a more precise roadmap:
- After solving the Relapsed Panel puzzle, you'll gain access to the Lobby.
- Once in the Lobby, you'll use a Magnetic Key to fully unlock and navigate the area.
- Head into the southwest room from the Lobby – this is where the Monitor Control Room is located.
A crucial piece of advice for this particular section of the game: if you enter through the ominous red door in the Lobby, you will be committing to the next sequence of events and **will not be able to return to this area**. Therefore, it is absolutely paramount that you locate and open the Monitor Control Room Safe before proceeding past this point. Missing it means missing out on vital supplies! For a more detailed walkthrough on its exact whereabouts and surrounding clues, consider checking out our dedicated guide:
Resident Evil Requiem: Monitor Control Room Safe Location & Code File.
The Hunt for the Code: Finding the File In-Game (Optional but Recommended)
While we've provided you with the direct codes, part of the immersive Resident Evil experience is discovering these clues yourself. For those who enjoy the investigative aspect of the game, the Monitor Control Room Safe Code can indeed be found within the ARK facility on a piece of paper, left by former staff members.
To track down this in-game document, you’ll need to venture into the **Bioweapon Repository 05**. This area is accessible by heading down the stairs from the Lobby. Be forewarned: this repository is not for the faint of heart. You should prepare yourself for significant resistance, including not only regular zombies but also the notoriously dangerous and often unseen **Lickers**. These creatures demand a cautious approach and often benefit from specific counter-tactics, such as acid attacks. Ensure your ammo count is healthy, and perhaps craft a couple of acid bottles before entering.
Within Bioweapon Repository 05, navigate to the center of the room, then head east. Look towards the south, and you should spot an open container. Inside this container, you'll find the precious document detailing the safe's combination, usually alongside some useful scrap. Finding this file truly completes the feeling of surviving a horrific outbreak and piece-by-piece uncovering the secrets of the ARK facility.
Rewards Await: What's Inside the Monitor Control Room Safe?
The effort expended in locating the safe, navigating treacherous environments, and meticulously dialing in the **Monitor Control Room Safe Code Re9** is amply rewarded. The items found within are incredibly beneficial, especially as you approach the game's challenging conclusion. These aren't just minor pickups; they can genuinely impact your survivability during the endgame.
Upon successfully opening the Monitor Control Room Safe, you will be granted:
- x1 Empty Bottle: A versatile and highly sought-after crafting component. Empty Bottles are crucial for combining with various chemicals to produce different types of Acid, which are incredibly effective against a wide range of enemies, particularly the more resilient ones you'll face in the ARK.
- x1 Med Injector: A potent healing item. On higher difficulties where health resources are severely limited, a Med Injector can be a literal lifesaver, restoring a significant portion of your health and potentially preventing a game over screen. Its value cannot be overstated in a tight spot.
- x1 Bottle of Acid: Immediate offensive utility. This pre-made bottle of Acid is ready to be thrown or used immediately in combat. It's excellent for stunning or damaging powerful foes, helping you conserve other, potentially scarcer, ammunition types.
Collectively, these rewards are a testament to efficient resource management and preparedness. The Empty Bottle offers future crafting potential, the Med Injector provides crucial immediate relief, and the Bottle of Acid offers an instant combat advantage. For a deeper dive into the mechanics of opening this safe and optimizing your resource use, you might find our article
Resident Evil Requiem: Monitor Control Room Safe Code & How To Open It particularly helpful.
In conclusion, the Monitor Control Room Safe in
Resident Evil Requiem is more than just another locked box; it's a strategic checkpoint. Knowing its location, the correct codes for your chosen difficulty, and the valuable contents within ensures you're well-prepared for the final encounters within the ARK facility. Don't skip this crucial safe; the rewards it provides could be the difference between survival and succumbing to the horrors that await. Good luck, and stay vigilant!